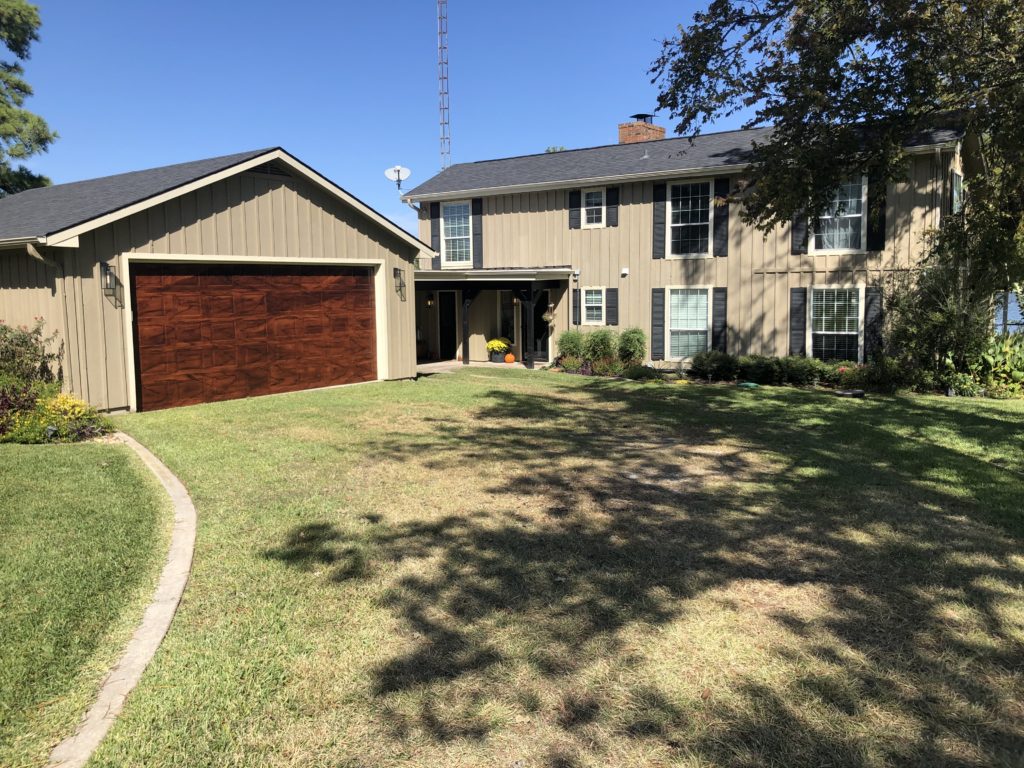
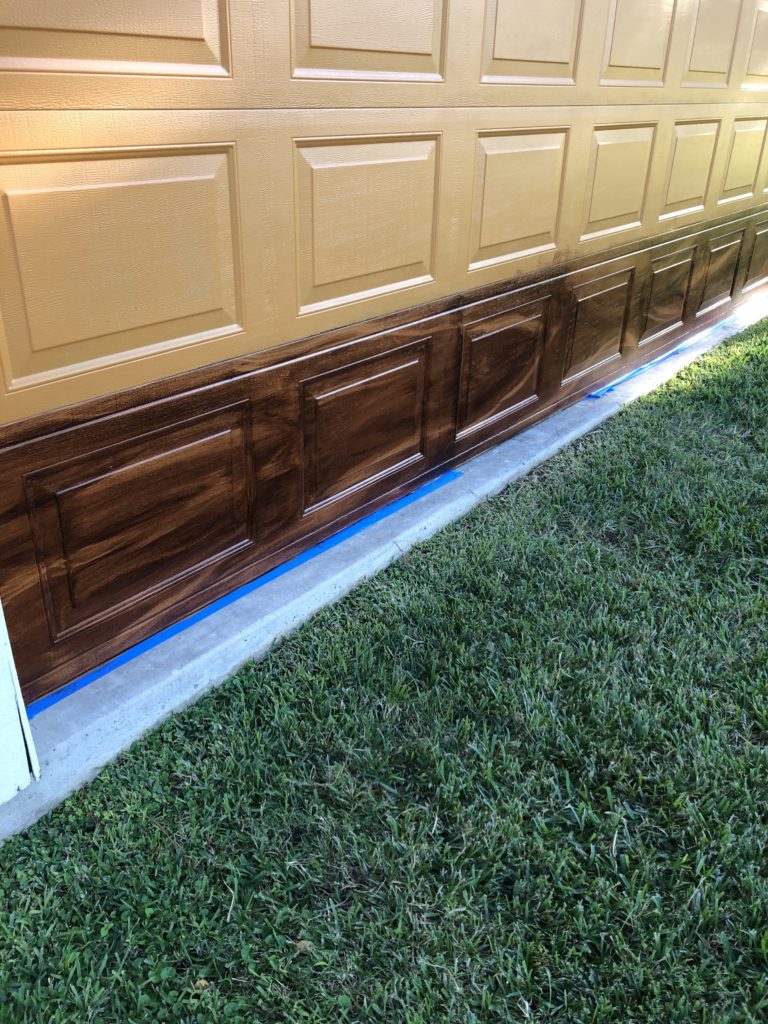
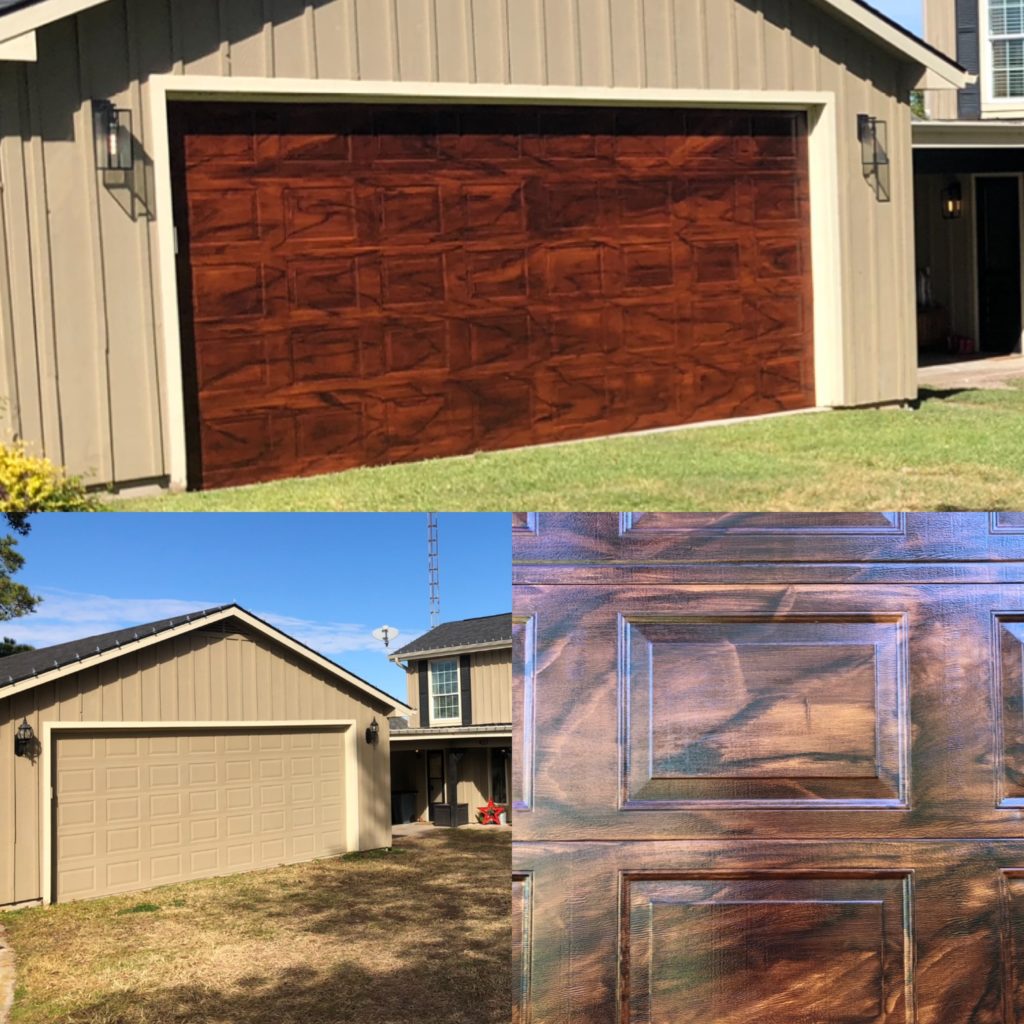
I have been ask a LOT of questions about my faux wood garage door project. I did not expect this to be so attention grabbing, down to people stopping in the road to watch me paint and calling our company number off our cars to ask “who we hired.” This is actually a service we offer. I will actually do this for people locally if you’re interested (in parts of Cooke and Denton Counties)! But it’s time consuming (read: not cheap labor) and I’m all for DIY when it makes sense! So I’m going to share with you what I did so you too can have the look of a fancy wood door without the price or upkeep of actual wood!
You can skip to the video showing part of the process here.

- Tape, drop cloth, etc.
- TSP and rags for cleaning
- Base paint color in exterior appropriate oil based paint
- Foam roller and brush for base painting
- Cheap chip paint brushes so you can throw them away and not worry about washing out brushes (especially if you can’t do this all in one day)
- Large dry brush
- Rags for keeping dry brush clean and working gel stain
- Gel stain in one or more colors
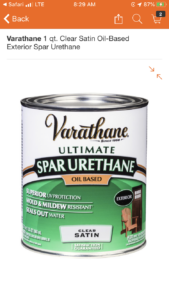
- Exterior, oil based, UV blocking sealer
Supplies
- Tape, drop cloth, etc.
- TSP and rags for cleaning
- Base paint color in exterior appropriate oil based paint
- Foam roller and brush for base painting
- Cheap chip paint brushes so you can throw them away and not worry about washing out brushes (especially if you can’t do this all in one day)
- Large dry brush
- Rags for keeping dry brush clean and working gel stain
- Gel stain in one or more colors
- Exterior, oil based, UV blocking sealer


Clean and Prep
First, you’re going to spray down and scrub your doors well. Then clean them with rags and TSP, followed by another quick rinse. Then they need to fully dry. You’ll want to prepare for painting by taping off trim and getting out any drop clothes you need, etc.
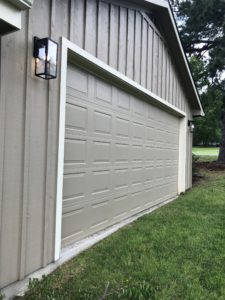
Don’t let the pictures confuse you, our garage is a two sided pass through so the pictures will be from me working on both.
Base Coat
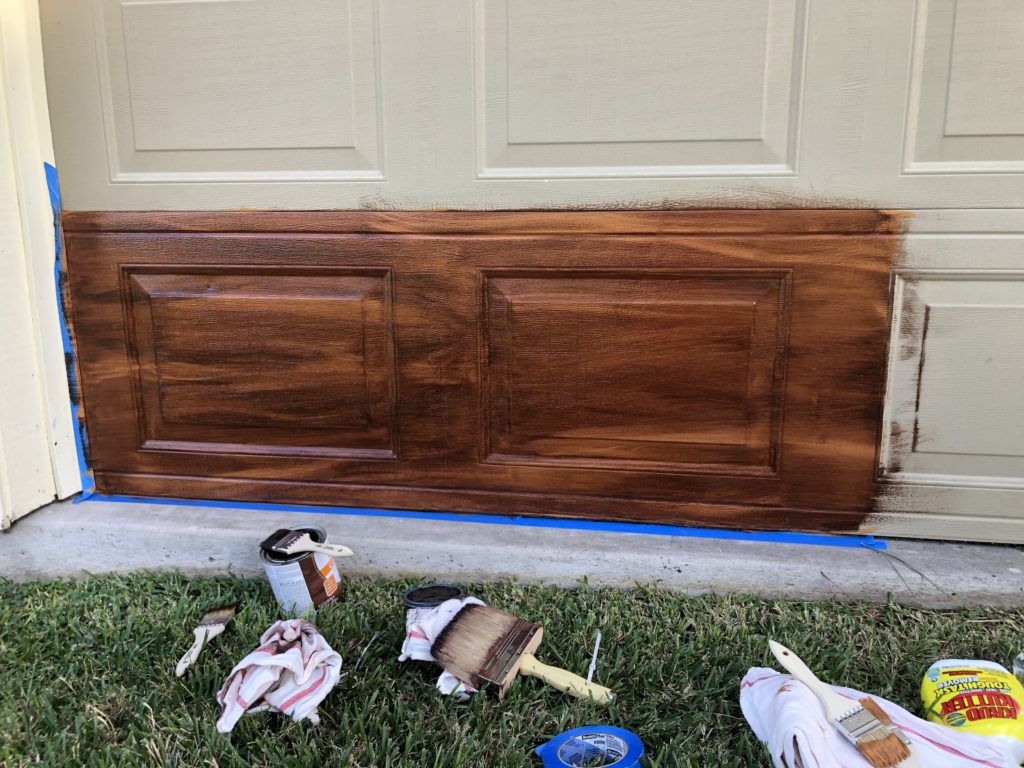
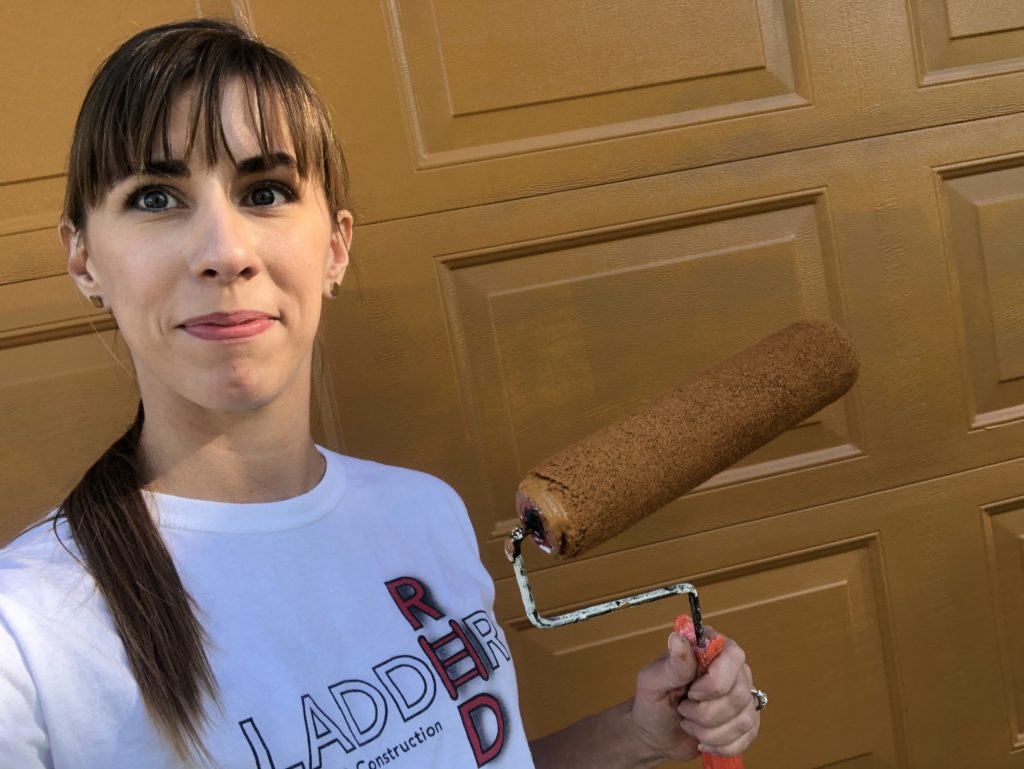
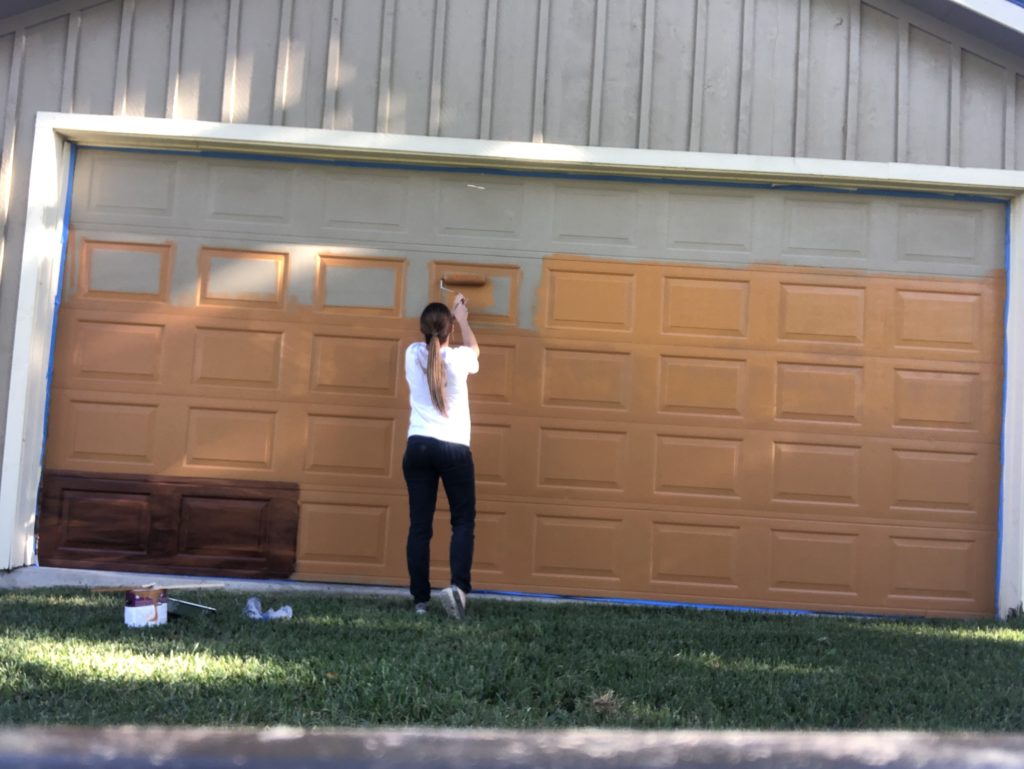
Next is the fun part, you’re going to scare all your neighbors by painting your doors a crazy color. It doesn’t even need to be a perfect base coat since its just providing some undertone for your faux wood paint treatment. I only did one coat. If your door is white or neutral you can actually choose to go right on top of that. Some do red for a rich mahogany look. I wanted a deeper cedar type of look so I chose an orange base (lucked out on an $8 can of oops paint!). One gallon was more than enough for me to do 2 double doors. I happened to do this right before Halloween and had to leave it there through entire work week before I had the time again to finish!
Faux Wood Treatment
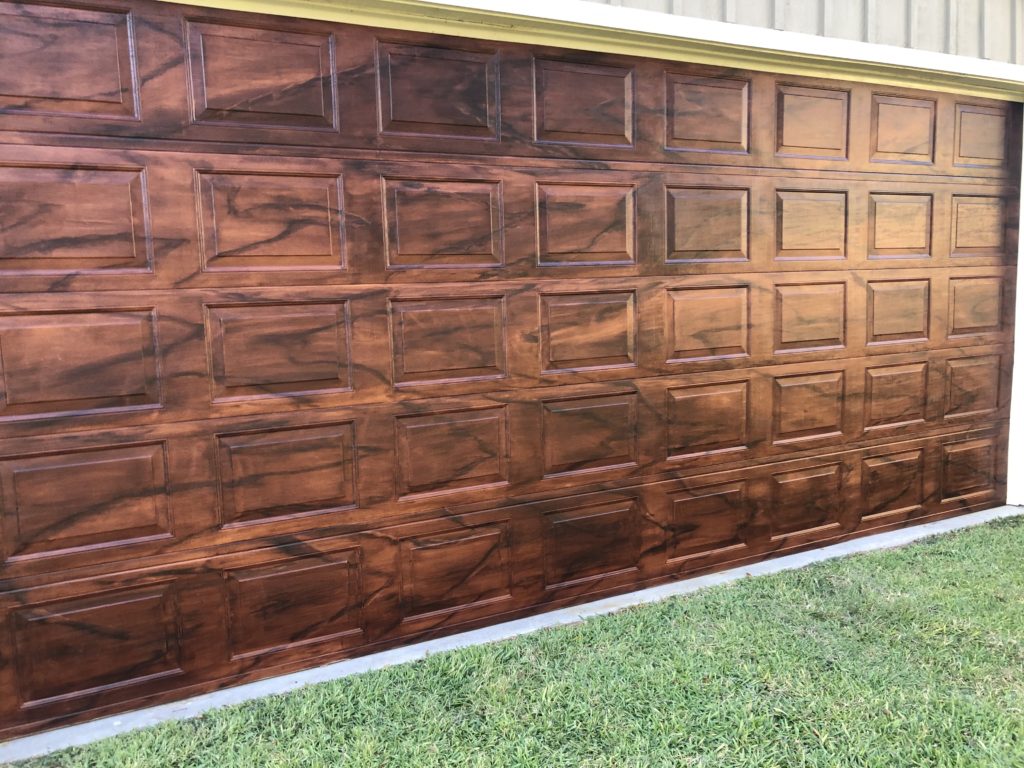
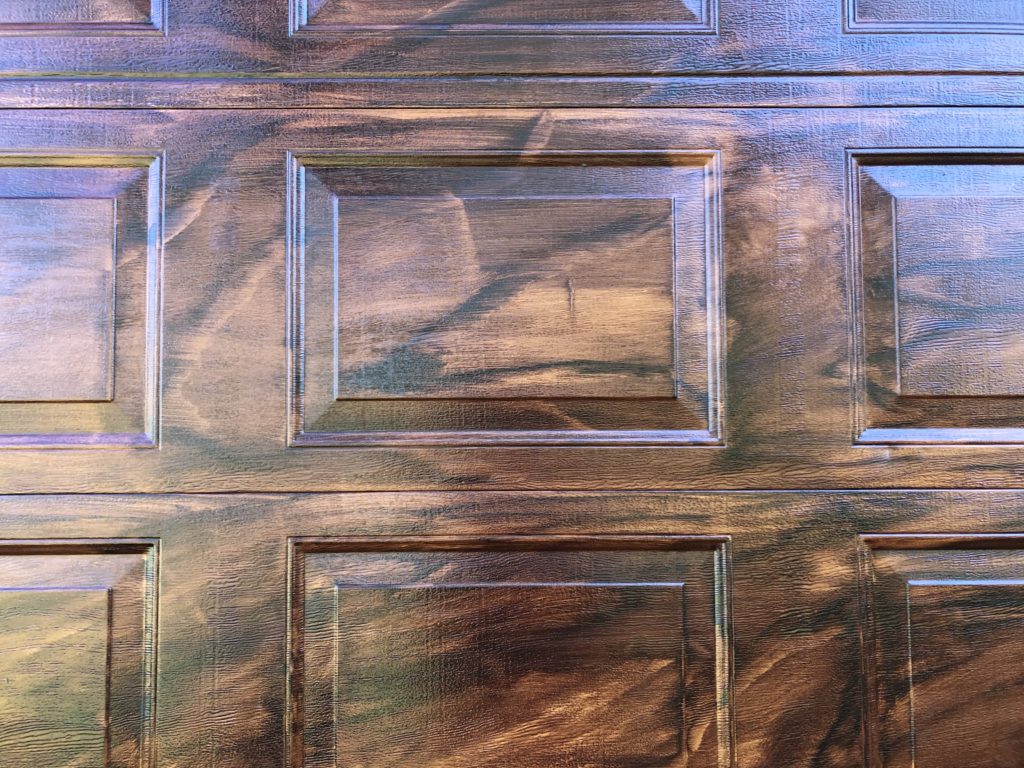
Then you get down to the real business of doing the faux wood painting technique. Time for the gel stain! I used the Verathane brand gel stain in Mahogany (an exterior version of gel stain doesn’t seem to exist, but I’ll be sealing this), a quart was more than enough for 2 double doors. Turn on the sound to hear me narrate what I am doing in the video below. I went row by row in a large grain pattern but there are a million ways to do this based on your garage door, the direction of grain you want, and how large scale you want the wood grain to look. You have to move fast to keep the gel stain workable and its best to do it when the sun isn’t beating right down on you. I watched a lot of you tube videos for technique ideas. I recommend stepping back occasionally to see how its looking from a distance and try not to get too uniform in your method. I did a few “knots” by lightly dry brushing some small “V” shapes I heavily applied first. But you can also choose to keep this step very simple and skip the addition of the wood grain all together, you’ll notice it still looks pretty convincing before I even add the grain!
Seal Your Doors
Too keep it from fading (after proper drying time) use a good exterior, UV blocking sealer that can be applied on top of oil based paints (gel stain is oil based). You could definitely use this same technique on your front door or shutters too! Check out the extra resources I used at the bottom of this post!
If you're interested in getting a quote from me about doing this for you, send me an email!
